Quality assurance testing processes at PROTIQ
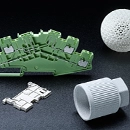
Competition demands quality to the highest standards. To ensure that you can always rely on the quality of your components manufactured by PROTIQ, we offer you the service of individual quality assurance. You can take advantage of this service both before the start of production and during additive serial production.Individually selectable testing methods for your project
In the ordering process, you have the option of choosing from our different testing methods. This ensures a qualified and standardized verification of your single-item or series production. The selected tests are then carried out by trained personnel in a qualified test laboratory directly on site. Documentation of the tests performed is also possible, e.g. in the form of a 3.1 certificate.
Determination of component density
Specific density analysis is one of the simplest methods for controlling consistent manufacturing and component quality. It can be used to detect and document the appearance of internal pores and cavities, as well as any unwanted change or deviation in the manufacturing process. We test the specific density of plastic and metal specimens using the buoyancy method according to Archimedes' principle based on DIN EN ISO 3369. The density is determined by completely immersing the specimen in liquid whose buoyancy force is equal to the weight force of the volume of the fluid it displaces. The test specimens are manufactured together with the actual component, in the same building job. In this way, a direct relationship is established between the measured density and the manufactured component.

Testing of component hardness
We test the component hardness of objects made of metals, rubber and plastics using the Vickers method based on DIN EN ISO 6507 and the Shore method based on DIN EN ISO 868. The basic principle of both hardness testing methods is based on the question of the resistance with which the respective material reacts to a harder body penetrating into it, which in turn can be read off from the depth of the deformation caused.
Description of surface roughness
We perform roughness measurements using the stylus method based on DIN EN ISO 4287. In this method, material surfaces are scanned using mechanical stylus instruments. These measuring instruments, which are standardized to DIN ISO 3274, record deviations in the surface profile, calculate roughness parameters and record profiles. The roughness values determined in this way provide information for the general evaluation of the surface topography.
Determination of static strength
We determine static strength values using the tensile test method based on DIN EN ISO 6892 and DIN EN ISO 527. In the so-called tensile test - a standard procedure in mechanical materials testing - standardized specimens of the material are drawn to the material's failure limit under continuously increasing, shock-free loading. In this way, the strength and deformation behavior under uniaxial loading can be described. The determined characteristic values of tensile strength and yield point form an important basis for the load-compliant design of a component. The tensile specimens used, as well as the specimens for specific density analysis, are manufactured in the same building job as the actual component. In this way, the tensile tests are directly suitable for documentation and as evidence of the required component strength.
Verifying the dimensional accuracy
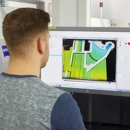
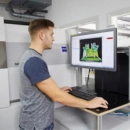
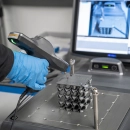
With the aid of CT scanning and fringe light projection, we check the dimensional accuracy of a component. Both external and internal dimensions of the object can thus be precisely checked for accuracy. In this way, correction loops during development can be significantly reduced. In addition, the CT scan offers the possibility to detect and exclude internal defects.
Characterization of the microstructure and cross sections
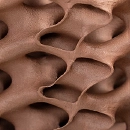
In metallographic testing, the microstructure of a metallic material is examined. In this process, special material specimens are first very finely polished and then analyzed under the microscope. In this way, porosity, grain structure and the metallurgical microstructure can be analyzed and documented as parameters of the component quality.
Individual testing requirements
In addition to carrying out standard tests, we also offer quality assurance tests with regard to individual questions. Please feel free to contact us and describe your specific application: service@protiq.com


 Deutsch
 English
 Italiano